
How to Make Your Own Garden Trellis for Climbing Plants
A bare wall or empty garden bed is wasted potential. If you want more height, healthier plants, and a garden that actually looks intentional, a trellis is one of the smartest upgrades you can make. The good news? You don’t need fancy tools or a contractor, just a plan and a free afternoon.
In this guide, you’ll learn how to build a sturdy, good-looking garden trellis from scratch, what materials actually last outdoors, and how to place it so your climbing plants thrive, not struggle.
Why a DIY Trellis Is Worth the Effort
Garden trellises aren’t just decorative. They solve real problems. Vertical growth improves airflow, reduces disease, and makes harvesting easier. For homeowners focused on smart landscaping in New Haven CT, a trellis also adds structure without taking up valuable ground space.
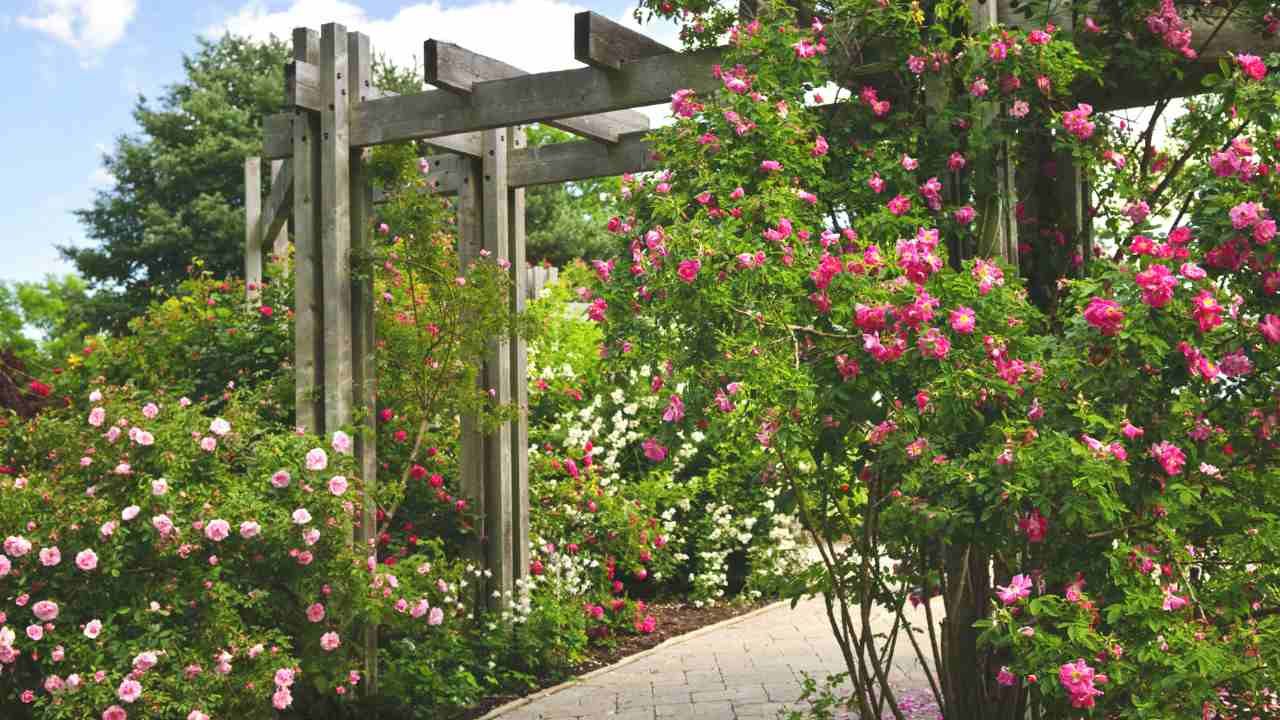
A well-built trellis can support:
- Cucumbers, beans, peas, and tomatoes
- Climbing roses and clematis
- Ivy and flowering vines for privacy
And unlike flimsy store-bought options, a DIY version can be sized exactly for your space and built to last.
Materials That Actually Hold Up Outdoors
Skip the cheap stuff. If you’re building once, build it right.
Best materials for a long-lasting trellis:
- Wood: Cedar or pressure-treated pine (cedar lasts longer and looks better)
- Fasteners: Exterior-grade screws or galvanized nails
- Mesh or lattice: Wood slats, metal wire, or livestock panel
- Finish: Outdoor wood sealer or stain
If your garden is part of a larger landscape plan or you’re working near trees and hardscaping, this is where advice from garden landscaping experts can save you from costly mistakes.
Step-by-Step: How to Build a Simple Wooden Trellis
This design works for most climbing plants and can be adjusted in size.
- Measure the area
Decide how tall and wide the trellis needs to be. Most work well at 5–7 feet tall. - Build the frame
Cut four boards to form a rectangle. Secure the corners tightly with exterior screws. - Add the climbing structure
Attach horizontal slats, diagonal boards, or wire mesh across the frame. Keep gaps 4–6 inches apart. - Seal the wood
Apply an outdoor sealant to prevent rot and weather damage. - Install it properly
Anchor the trellis into the ground or mount it to a wall with spacers for airflow.
Pro tip: Never press a wooden trellis directly against siding, it traps moisture and causes rot.
Placement Mistakes That Kill Plants
A trellis only works if it’s placed correctly.
Avoid these common errors:
- Installing it where plants get less than 6 hours of sun
- Setting it too close to fences or walls without airflow
- Using weak anchors that tip over mid-season
This is the same reason many homeowners consult Avalanche Tree and Landscaping LLC when integrating garden structures into an existing yard layout, placement matters as much as construction.
A Quick Real-World Example
One New Haven homeowner built a DIY trellis for climbing beans using untreated pine and indoor screws. It looked fine, until midsummer storms hit. The frame warped, screws rusted, and the entire structure collapsed under plant weight. The fix? Rebuilding with cedar, exterior fasteners, and proper ground anchors. Total rebuild time: three hours. Lesson learned: materials and installation matter more than design.
Final Thoughts
A garden trellis is one of the highest-return DIY projects you can tackle. It boosts plant health, adds visual interest, and costs a fraction of prebuilt options. Build it solid, place it smart, and your climbing plants will do the rest.
If you’re planning larger landscape upgrades or want everything to work together long-term, get guidance before guessing. A well-designed garden isn’t accidental, it’s intentional.
Contact us to get started.